
Connect a Teams tenant in Live Hub
When you connect a Microsoft tenant, Live Hub receives the administrative permissions required to manage the tenant's telephony services. Before you start, create the service account and free an eligible license.
To connect Live Hub to your Teams tenant:
-
In the Navigation pane, expand Voice channels, and select Microsoft Teams.
-
Click Connect tenant.
-
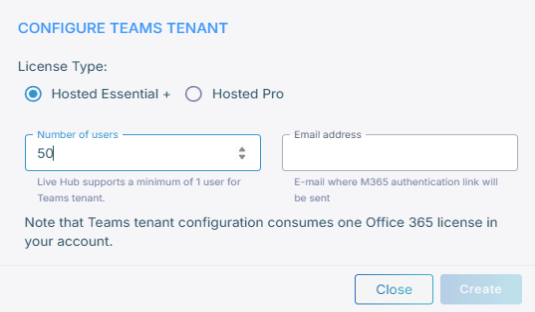
Select the license type:
- Hosted Essential + license — you assign phone numbers to Teams users by
hand, one at a time in the portal or in bulk from a
.csvfile. - Hosted Pro license — you can additionally assign lifecycle management templates by Microsoft Entra ID security group, assign phone numbers automatically from predefined ranges, and carry out other tenant management tasks. See Lifecycle management.
- Hosted Essential + license — you assign phone numbers to Teams users by
hand, one at a time in the portal or in bulk from a
-
In the 'Number of users' field, enter how many Teams users may be assigned phone numbers. This determines the cost of Teams connectivity, and you can change it after the connection exists.
-
In the 'Email' field, enter the address the activation email is sent to: your own, or your IT administrator's if they created the service account.
-
Click Create.
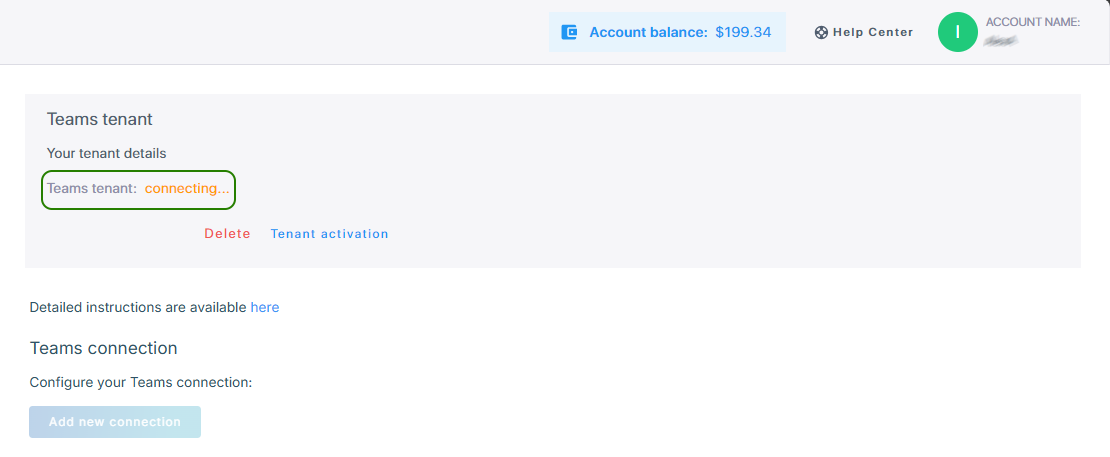
The tenant moves to the connecting state and stays there until you finish activation.
-
Open the activation email and follow it, or click the tenant activation link in the portal.
-
On the Tenant Activation screen, select an authentication method.
Select an authentication method
The Tenant Activation screen offers three authentication methods, one in each of the following tabs.
Use this method if you already have an app registration in Azure.
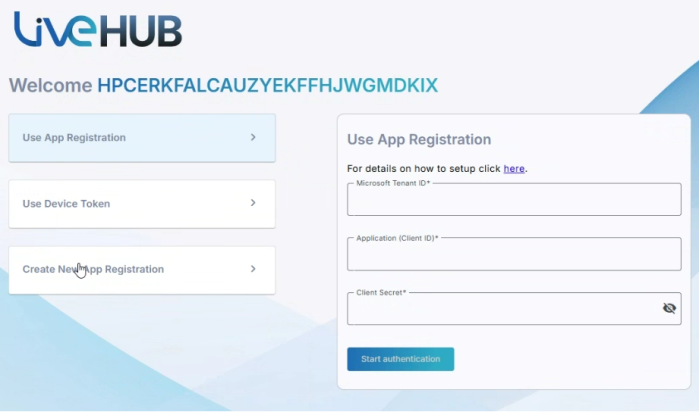
- Click Use App Registration.
- Enter the 'Microsoft Tenant ID', 'Application (Client ID)', and 'Client Secret' from Azure.
- Click Start authentication.
- Continue with Create a Teams connection.
-
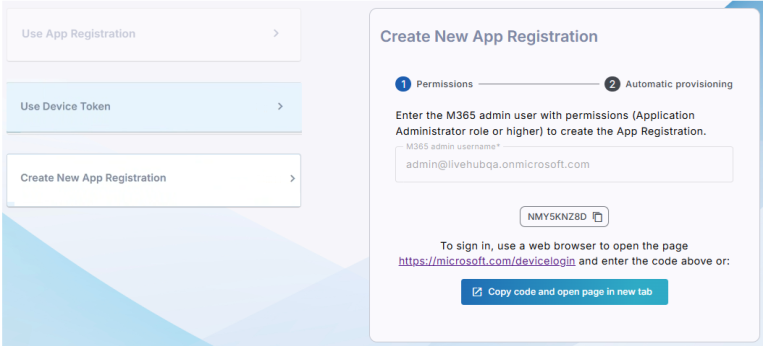
Click Use Device Token.
-
In the 'M365 admin username' field, enter the Live Hub service account's username, typically
livehub@<your-domain>.It must be the service account from Provision a service account for Live Hub, not your own username, and not your Global administrator's.
-
Click Start authentication.
Instructions to sign in at microsoft.com/devicelogin appear at the bottom of the screen.
-
Click the Copy icon to copy the authentication code.
-
Continue with Grant permissions.
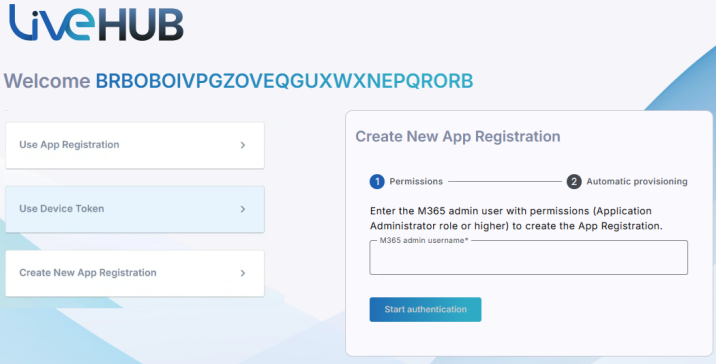
Use this method if you need a new app registration in Azure.
-
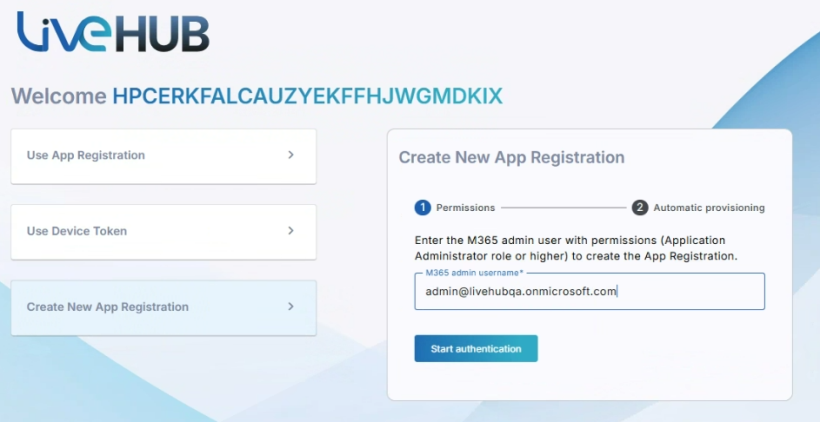
Click Create New App Registration.
-
In the 'M365 admin username' field, enter the Live Hub service account's username, typically
livehub@<your-domain>.It must be the service account, not your own username or your Global administrator's.
-
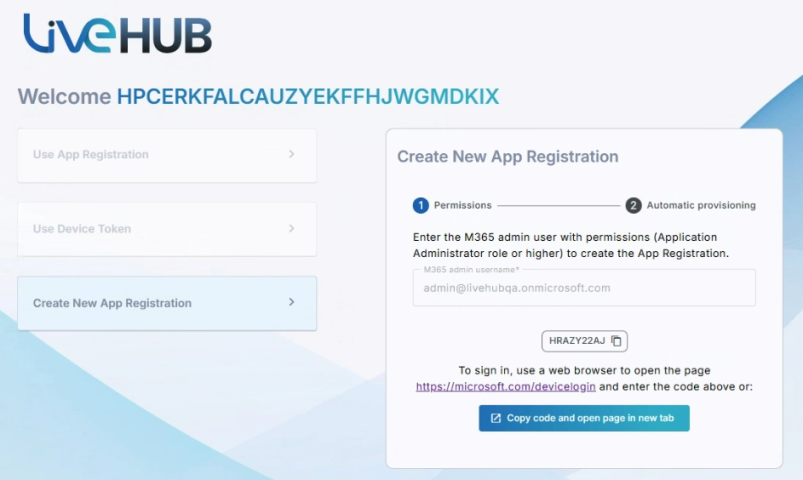
Click Start authentication.
-
Click the Copy icon to copy the authentication code.
-
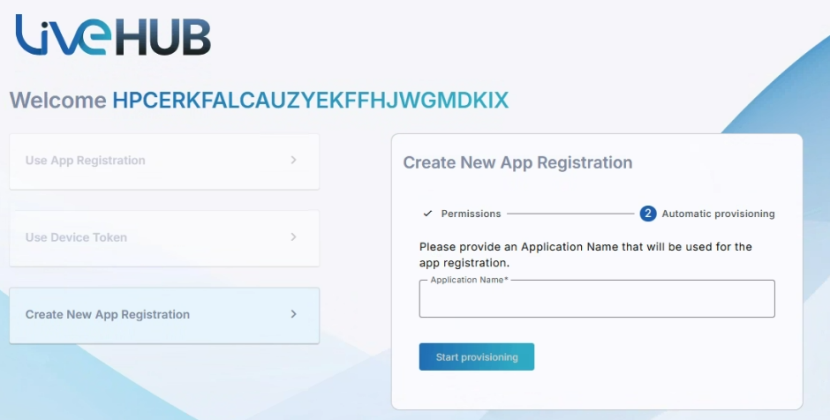
Enter a unique application name, and then click Start provisioning.
-
Continue with Grant permissions.
Grant permissions
Live Hub acquires the tokens it needs when you sign in as the service account and accept the permissions it requests.
To grant Live Hub the permissions it needs:
-
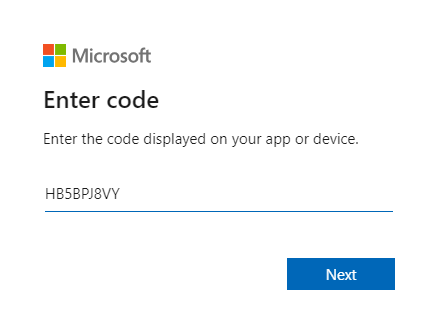
Click the microsoft.com/devicelogin link, which opens in a new tab.
-
Paste the authentication code, and then click Next.
-
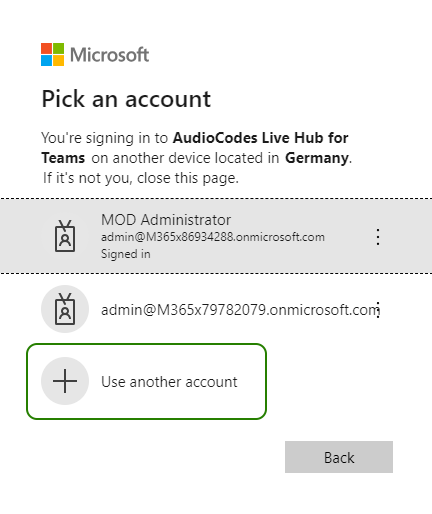
Sign in as the Live Hub service account, not as your own user and not as Global administrator. The account is not usually among those offered, so click Use another account, and then enter its username and password.
-
On the Permissions requested screen, click Accept.
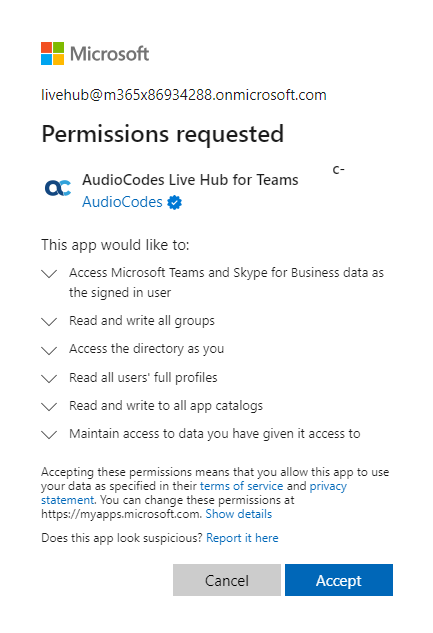
Without the Application Administrator role on the service account, the button reads Request approval instead. Click Request approval, and then ask your IT administrator to approve the request.
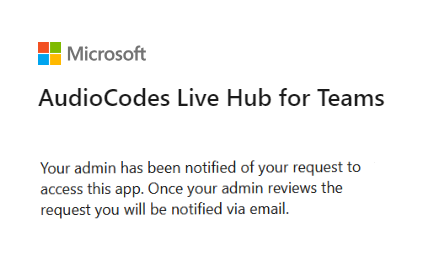
-
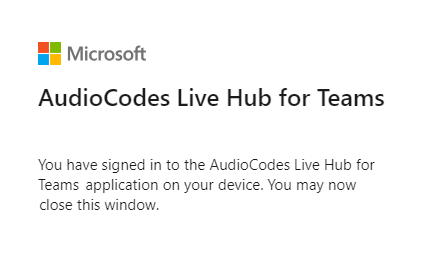
Close the tab to return to the Tenant Activation screen, and then wait for "Microsoft Teams Graph Token - Completed".
-
On a first-time connection, click the button to continue authenticating.
A new tab opens and asks you to sign in again.
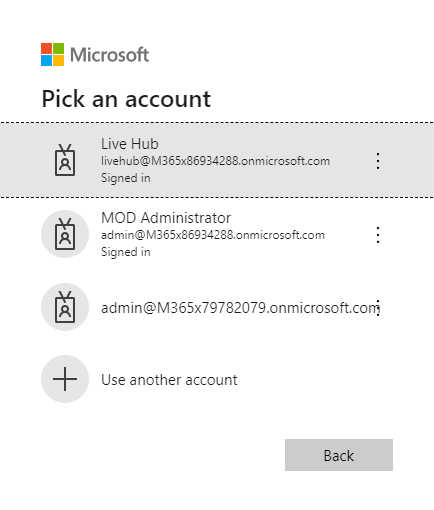
-
Sign in as the service account again, and then click Accept on the second Permissions requested screen.
-
Close the tab. When the Tenant Activation screen shows "All tokens acquired! You can close this page now", close it.
-
Back in the Live Hub portal, select Microsoft Teams in the Navigation pane, and then wait for the connection to be established, which can take up to 5 minutes.
Once the connection is established, the screen refreshes to show your Teams tenant ID and admin domain, along with the Configure, Manage, and Reauthenticate buttons.
If the tenant admin's credentials change later, click Reauthenticate and run through the authentication again.
The tenant is now connected. Continue with Create a Teams connection.